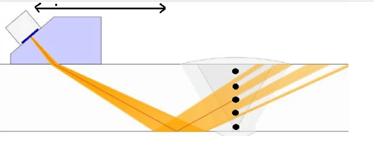
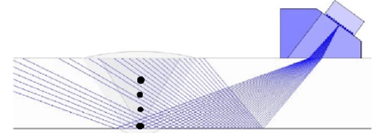
Phased Array Ultrasonic Testing (PAUT) is an advanced method of ultrasonic testing. Unlike conventional ultrasound, PAUT uses multiple ultrasonic crystals and generates different delay times to emit or receive ultrasound. Each of these crystals is individually pulsed with synchronization calculated by PAUT equipment. When these elements or crystals are excited using different time delays, they can be directed at different angles, focused at different depths, or combined along a matrix, creating the ultrasonic beam pattern needed for our test.
The beam of a Phased Array probe can be focused and designed to electronically scan the part to be inspected without moving the probe. This is a significant difference from conventional ultrasound probes. Conventional probes must be moved and rotated to cover the inspection area, while for PAUT, it is not necessary.
Figure 2: Phased Array
PAUT probes can be used manually for inspecting a seam after a repair. It is also possible to connect them to a crawler to record the position and thus have a record like that of digital radiography or to mount them on a semi-automatic scanner, generally used for inspections in pipeline constructions. PAUT can be used, like conventional ultrasound, in direct contact or with a water delay line. PAUT can be used to inspect almost any material that has been traditionally inspected using conventional UT methods. In general, it is used for crack detection and characterization, weld inspection, and detection and characterization of corrosion.
Contact our Specialists Today
We will assist you by combining the best professionals, highly trained and with extensive experience, and the use of the latest technology, all aligned with the best management practices
Click the following link to schedule a meeting
Contact Form
Scan Types
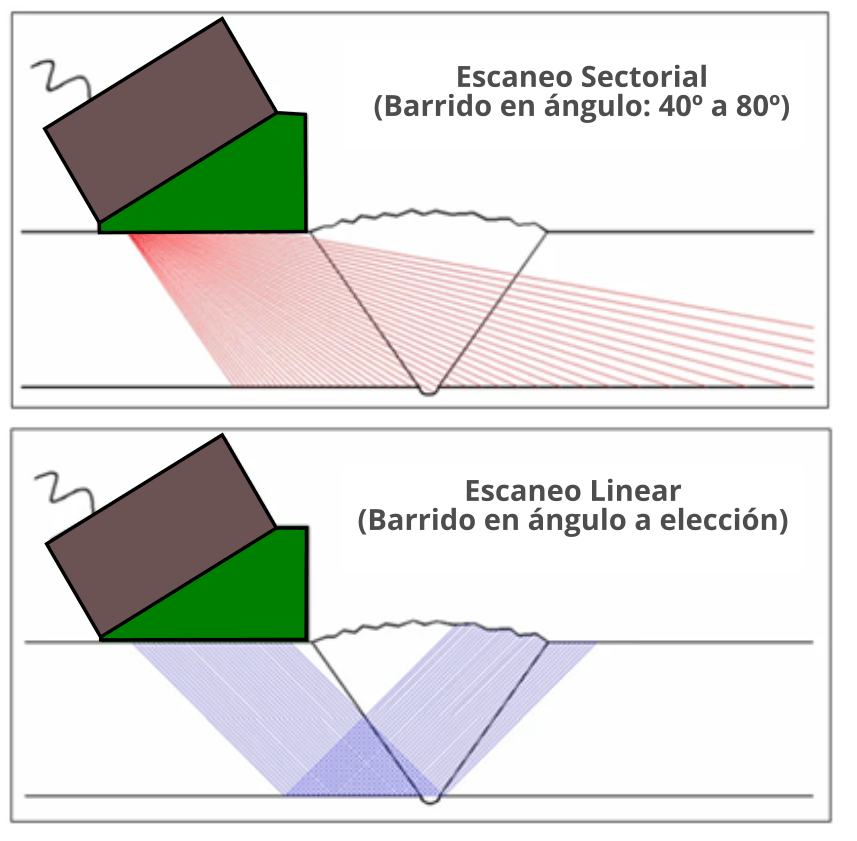
Sectorial Scan (Scan-S). Sectorial scanning can only be done with PAUT. Sectorial scans use the same elements but vary the delay times so that the beam scans through a series of angles. Sectorial scanning can be used for inspecting a weld, covering the entire weld, where the scan angles could range from 25° to 80°. It can also be used for critical inspection areas to detect and characterize discontinuities, such as certain stress concentrators in AIB shafts.
Electronic or Linear Scan (Scan-Lineal) reproduces the inspection by manually moving a standard UT probe. An ultrasonic beam is moved through the entire probe, allowing for faster inspection while limiting mechanical movement. The technique combines beam focus and direction.

Figure 3: Shows the configurations of sectorial and linear Phased Array scans
Advantages of PAUT
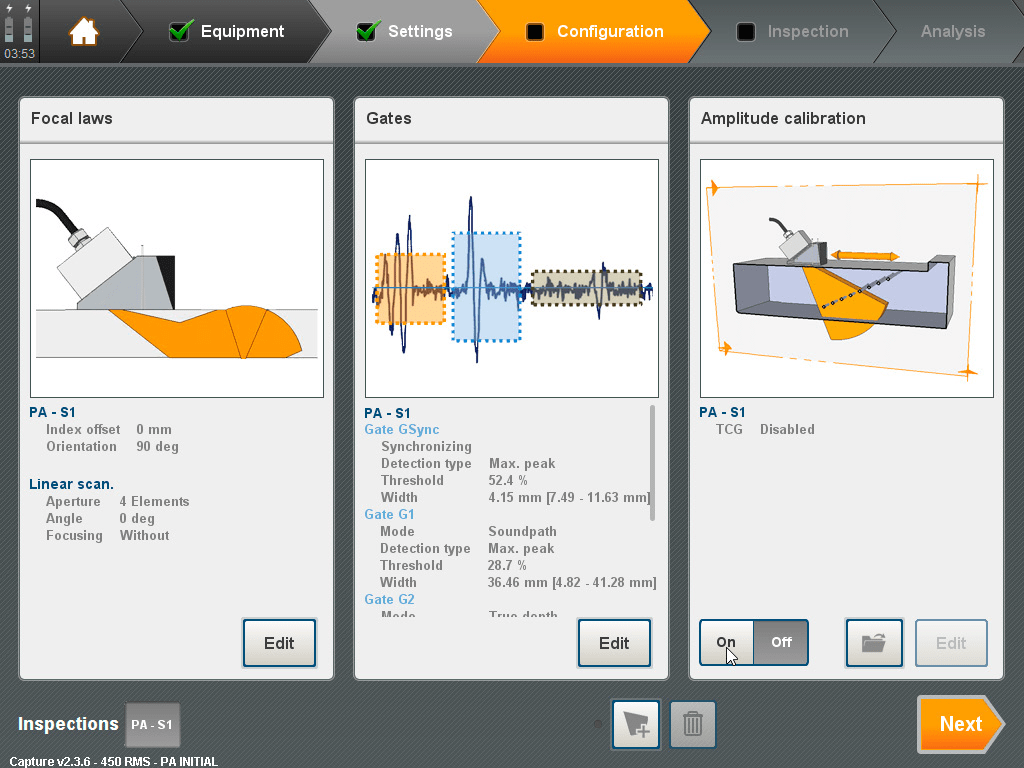
The advantages of PAUT over conventional UT are clearly the certainty and speed of the inspection. The PAUT system is easier to use than conventional UT, and once operators are trained, inspection becomes much simpler and more accurate. By having many signals at once and from different angles, it reduces the number of false indications. Most commercial PAUT equipment comes with an inspection simulator that greatly optimizes effectiveness in fault detection.

Figure 4: Simulator and inspection design with equipment like Support, Mantis, Omnisan, etc.
PAUT inspections generate permanent records, replacing industrial radiography (RI) in pipeline construction. The great advantage is that no radiation is generated, so it is not necessary to interrupt the work of other crews in the vicinity to perform the inspection. At the same time as the inspection, Acceptable results are generated, with or without indications, and in case repairs are needed, they are reported instantly, without the need for plate development. Additionally, PAUT provides information on the depth and width of indications compared to RI and conventional UT.
Coverage: By directing, focusing, and scanning transducer beams, PAUT systems can be used to inspect large surfaces quickly with high resolution.
- Speed: With PAUT, inspection is 75% faster than conventional UT and 63% faster than RI, without considering development and interpretation times.
- Safety: Risks associated with Industrial Radiography are eliminated, and the risk is reduced by reducing inspection times.
- Precision: PAUT demonstrates the ability to detect discontinuities from 0.62 millimeters and locate them in all axes of the pieces.
- Repeatability: A significant use of PAUT is for corrosion monitoring due to its precision.
Uses of Phased Array
PAUT can potentially be used in almost any inspection where conventional ultrasonic flaw detectors or industrial radiography have traditionally been used. Weld inspection and crack detection are the most common uses, tests performed in many industries, not only in the oil & gas industry.
PAUT is also used with optimal results to determine corrosion profiles and to monitor them.


